Showing posts with label sewing accessory. Show all posts

Monday, April 1, 2013

Pincushion Dish - Day 12 of 100 Days on Pins and Needles


Do you have one odd dish from a long lost set?  How about a vase you no longer use for flowers but can't bear to throw out?  Well after reviewing my collection of pincushion ideas I found this quick and easy project that transfers any small dish or vase into a lovely sewing room addition. 


For my first sample at the top of the page I used a small parfait dish and inserted my pincushion form and turned it into a handy pincushion on a pedestal.  My pincushion fit in the dish nice and tight so I didn't have to glue it to secure in place.

My second option, below, I made using my previously made "tomato" pincushion and a small Japanese tea cup that I found at the thrift store.  Once more the pincushion form fit in it nice and tight, so I don't have to worry about it falling out.


This tutorial is super easy to follow and takes only a few items to create a handy and cute addition to your sewing space.  Remember all you need is a dish or small vase, some fabric scraps, fiberfill, a pair of scissors, a needle and thread  then just click on the link above and find the instructions to start creating.

I hope you enjoy another fun idea for a quick and easy Mother's Day gift idea, add some special embellishments and create a very special one of a kind pincushion.  Don't have a dish or vase, check out your local thrift stores and see what you can find.

Enjoy this new idea to turn a household item and a few sewing or craft items into a great looking sewing accessory and don't forget to leave a comment or share what your are making.  

Drop in every Monday and join me in my search to find 100 different pincushion ideas as I take a walk down "life in the craft lane".

Monday, March 25, 2013

Flower Pot Pincushion - Day 11 of 100 Days on Pins and Needles

Spring?  Well whether mother nature is telling us it is Spring or if she is still covering you with a blanket of snow where you live, the calendar says Spring has arrived.  With that in mind I spent the weekend shopping for some new herb plants for my garden and at the same time purchased some crafting items at the garden center.  I brought my love of flowers and gardening into my sewing area by creating a fun and useful Flower Pot pincushion.


I used my handy E-6000 glue and attached a small clay flower pot to a clay flower pot saucer, adding the saucer gives you a great place to hold thread, buttons or other sewing notions you may need while sewing or crafting.  You could even add a larger saucer to give you more space for extra stuff.

I showcase two versions of my pincushions, in the first one I used a salad plate as a template and cut out a fabric circle, gathered the edge with a needle and thread then stuffed with fiberfill.  In the second version I inserted the tomato pincushion I made a few weeks ago into the pot to use as my pincushion.  Because of the tight fit in both I did not have to glue the pincushion into the pot, the pins are corsage pins and I added the flower beads to give them a really fun garden look. As always I found a tutorial to share if you would like to create your own flower pot pincushion to give as a gift or just add a touch of Spring to your sewing area.


The tutorial gives you an easy way to make the pincushion that requires no sewing and you use a hot glue gun to attach the pincushion into the pot.  A great tutorial that is fast and easy to put together.

I hope you create your own little garden to display in your sewing space, anywhere in your home or share a little bit of Spring with someone else.  If you drop in and check out my blog please leave a comment and let me know what you think.  I hope you enjoy a walk in the sunshine and don't forget to stop and smell the roses as you take an inspirational walk down "life in the craft lane".  

Monday, March 4, 2013

Easter Egg Pincushion - Day 9 - 100 Days on Pins and Needles

With Easter fast approaching I decided to focus on some Easter Theme pincushions.  I found a cute little Easter Egg pincushion featured on Retro Mom Blog in March of 2009.  


The instructions are simple and easy to follow she also provides a link to the pattern you can print out for this project.  These little pincushions would make great gifts or display items, maybe even soft toys for a baby or toddler instead of giving plastic eggs full of candy.  After making a few I picked some up to show my daughter and the thought occurred to me that these would make great items to practice your juggling or to let your children toss in a basket as an indoor snow day or rainy day toss game.


As usual I made my own version of the egg in tone on tone off white fabrics and added a little twist to mine by placing it into a cup, you could also add some Easter grass or shredded green fabric in the base.  With the addition of an egg cup or dish it turns into a sewing accessory that is stable and won't roll away.  If you don't have an egg cup any small dish would do fine, I found some cute little plastic Easter eggs at the Dollar Store that work great as a stand for your pincushion.

I hope you enjoy this pattern as much as I did.  Create a dozen eggs and display them in a decorated re-purposed egg carton in your kitchen or sewing room for a fun country look.

Wednesday, October 10, 2012

100 Days on Pins and Needles

Large Flower Pincushion Tutorial


Day 3

I am sure that most of us have seen the old tuna can pincushions, some of us may have made some of these for our mothers as gifts when we were children.  I took an old standard and again put my own spin on it to create a cute flower design.

Materials List

small empty tuna can or pet food can
3 sheets of acrylic craft felt: 2 sheets in the color of your choice for petals, 1 sheet to cover the can
9" diameter cotton fabric circle for pincushion
polyester fiberfill
hand sewing needle
thread
scissors
pinking shears or rotary cutter with pinking blade
sewing machine

1.  I covered the bottom and sides of the can with acrylic felt using the same method as I used in my Felted Wool Bottle Cap Pincushion.  Remember to leave about 1/2 in excess fabric across the top of he rim.


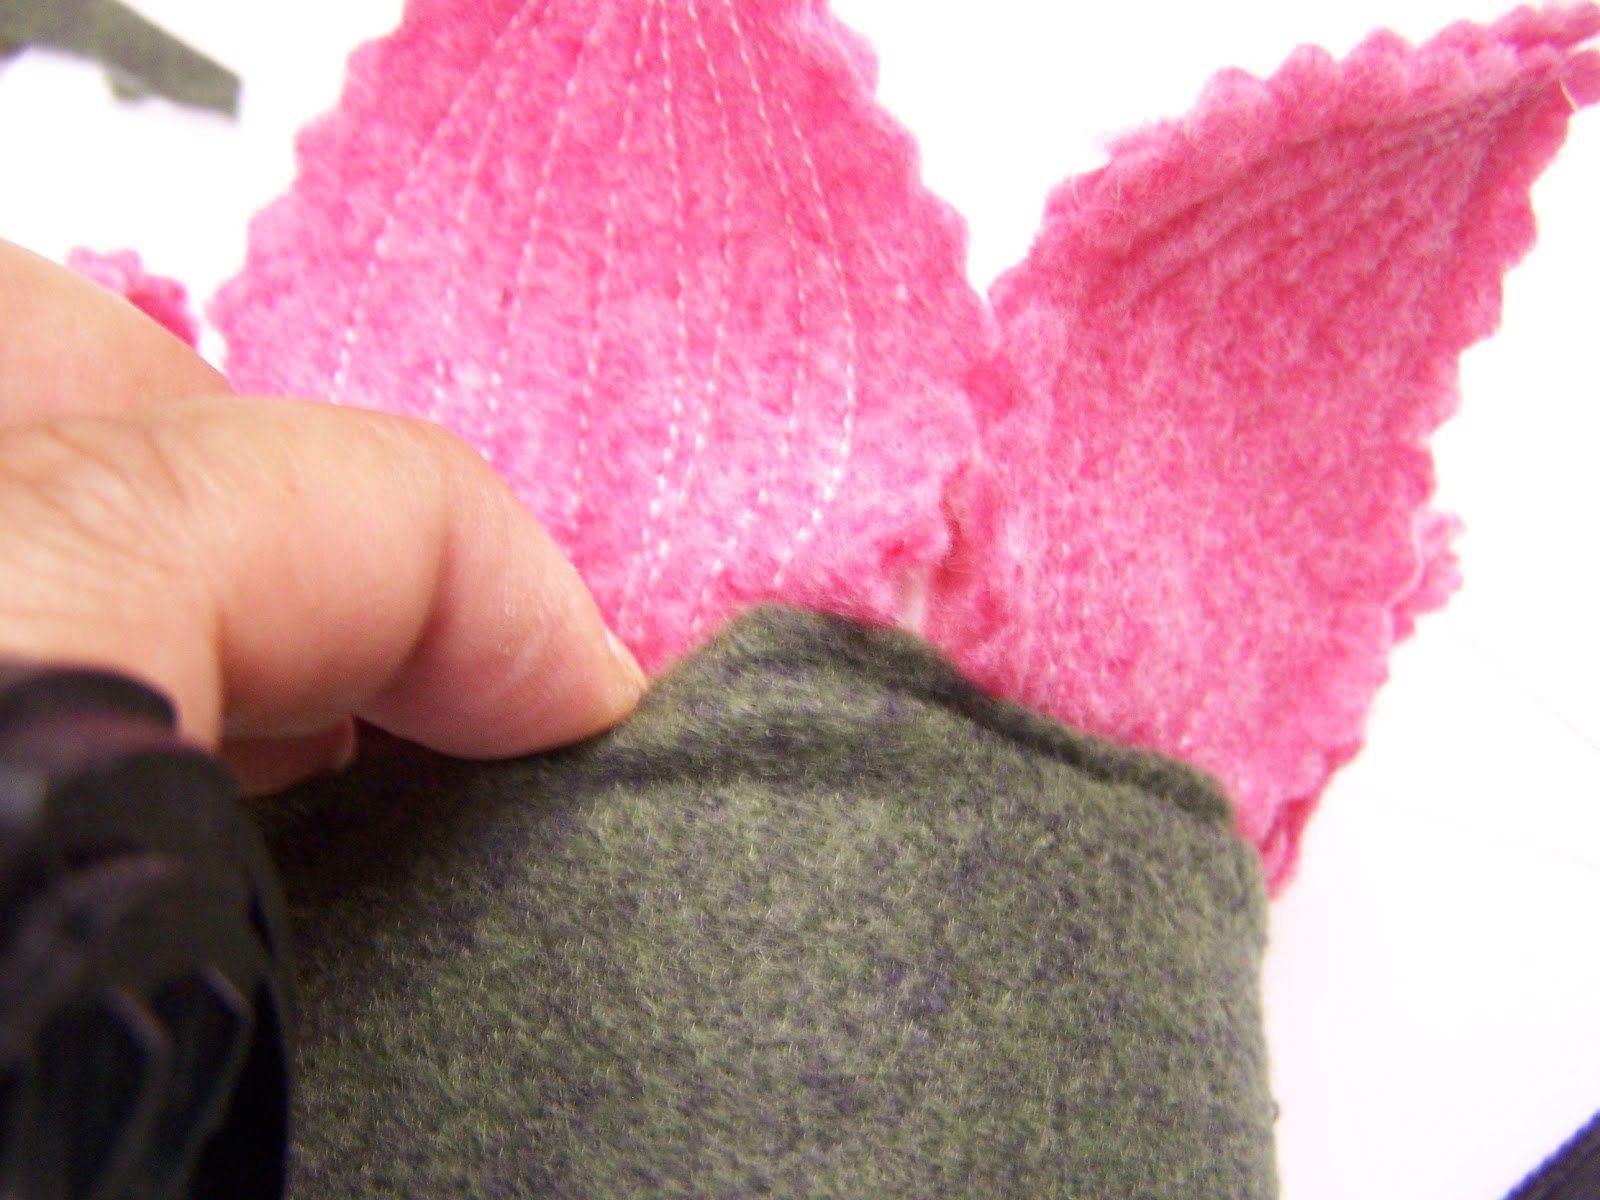
2.  Layer your flower petal felt fabric and cut out 6 sets of flower petals or as many as you need or want to go around the can. You can draw a paper pattern or just cut them out free hand, which is what I have done. Pin petal sets together so that you don't mix them up. Using your pinking blade or shears trim around the edges to give them a nice finish.


3.  Using your sewing machine stitch down the center of the petal and then continue to stitch back and forth moving out until the petal is totally covered.  If you want you can do whatever kind of stitching you like as I have shown on the red petal. You can use a contrasting color of thread or a matching color, the choice is yours. This stitching helps the petals stability making them easier to work with.


OPTIONAL:  I made a small 4" diameter circle of muslin and filled it with crushed walnut shells to place on the inside of my pincushion.  The walnut shells are supposed to help keep your pins and needles sharp.  You can do this also if you feel confident enough to make your own.

4.  Once all your petals are stitched pin them around your can.  If you want to add more you can do so at this point.  Using a needle and thread tack each petal in place, this will make it easier to work with.


5.  Using a glue gun add a dot of glue to the inside of the can and press the petals down in place.  Don't worry about how the petals are positioned at this point, you will adjust that when you are finished.  Set the can aside for now.


6.  Take your 9" circle and sew a running stitch around the outside edge with your needle and thread pull tight to form a "cup" shape.

       
OPTIONAL:  If you have made a pouch filled with crushed walnut shells place it in the center of the "cup" at this point.

7.  Stuff the "cup" shape firmly with polyester fiberfill batting and pull your thread tightly to form a ball shape. Work your shape until it looks somewhat uniform in shape.


8.  Take your fabric "ball" and stuff firmly into the middle of the can until if sits firmly on the bottom.  If you like you could add hot glue to the inside of the can but your fabric ball should be firm enough and snug enough to not need it.


9.  Take the lip edge of the felt used on the side of the can and stuff it into the can pushing the petals down down also.  This will help keep the pincushion sitting tightly in the can.


10.  Once you have it stuffed securely into the can you can then form your petals into a flower shape.


Make your own if you like or click on the link above and purchase this beauty or one like it.  Whatever you choose I hope you enjoyed Day 3 of 100 Days on Pins and Needles.

Sunday, September 30, 2012

Using MyThrift Store Finds

I promised last week to continue blogging about how I use all those thrift store finds from last week so here is a preview to how my latest pincushion/jewelry stand came to be. Every new project starts with a mannequin body and then I try out different items to use as a base.  Sometimes they work on the first try and sometimes they don't.

I wanted my next pincushion to look a bit modern with a sparkly glitter fabric design but still keep it looking fun. I made a trip to the Dollar Tree store on Friday and found a feather boa in the toy area and the idea came to me to use it as a skirt embellishment on my latest mannequin.  This mannequin turned into a burlesque style pincushion/jewelry stand with a tulle skirt and feather trim.  The first base did not have the look I was going for so this time it didn't work.  I went to my stash of thrift shop finds and selected a more modern sleek looking stemmed glass for the base.


The base adds to the overall design so each one needs to be selected with that idea in mind and I test the mannequin on several bases to decide on the final look.  This one ended up being a fun, flirty and sparkly design.