Large Flower Pincushion Tutorial

Day 3
I am sure that most of us have seen the old tuna can pincushions, some of us may have made some of these for our mothers as gifts when we were children. I took an old standard and again put my own spin on it to create a cute flower design.
Materials List
small empty tuna can or pet food can
3 sheets of acrylic craft felt: 2 sheets in the color of your choice for petals, 1 sheet to cover the can
9" diameter cotton fabric circle for pincushion
polyester fiberfill
hand sewing needle
thread
scissors
pinking shears or rotary cutter with pinking blade
sewing machine
1. I covered the bottom and sides of the can with acrylic felt using the same method as I used in my Felted Wool Bottle Cap Pincushion. Remember to leave about 1/2 in excess fabric across the top of he rim.


2. Layer your flower petal felt fabric and cut out 6 sets of flower petals or as many as you need or want to go around the can. You can draw a paper pattern or just cut them out free hand, which is what I have done. Pin petal sets together so that you don't mix them up. Using your pinking blade or shears trim around the edges to give them a nice finish.


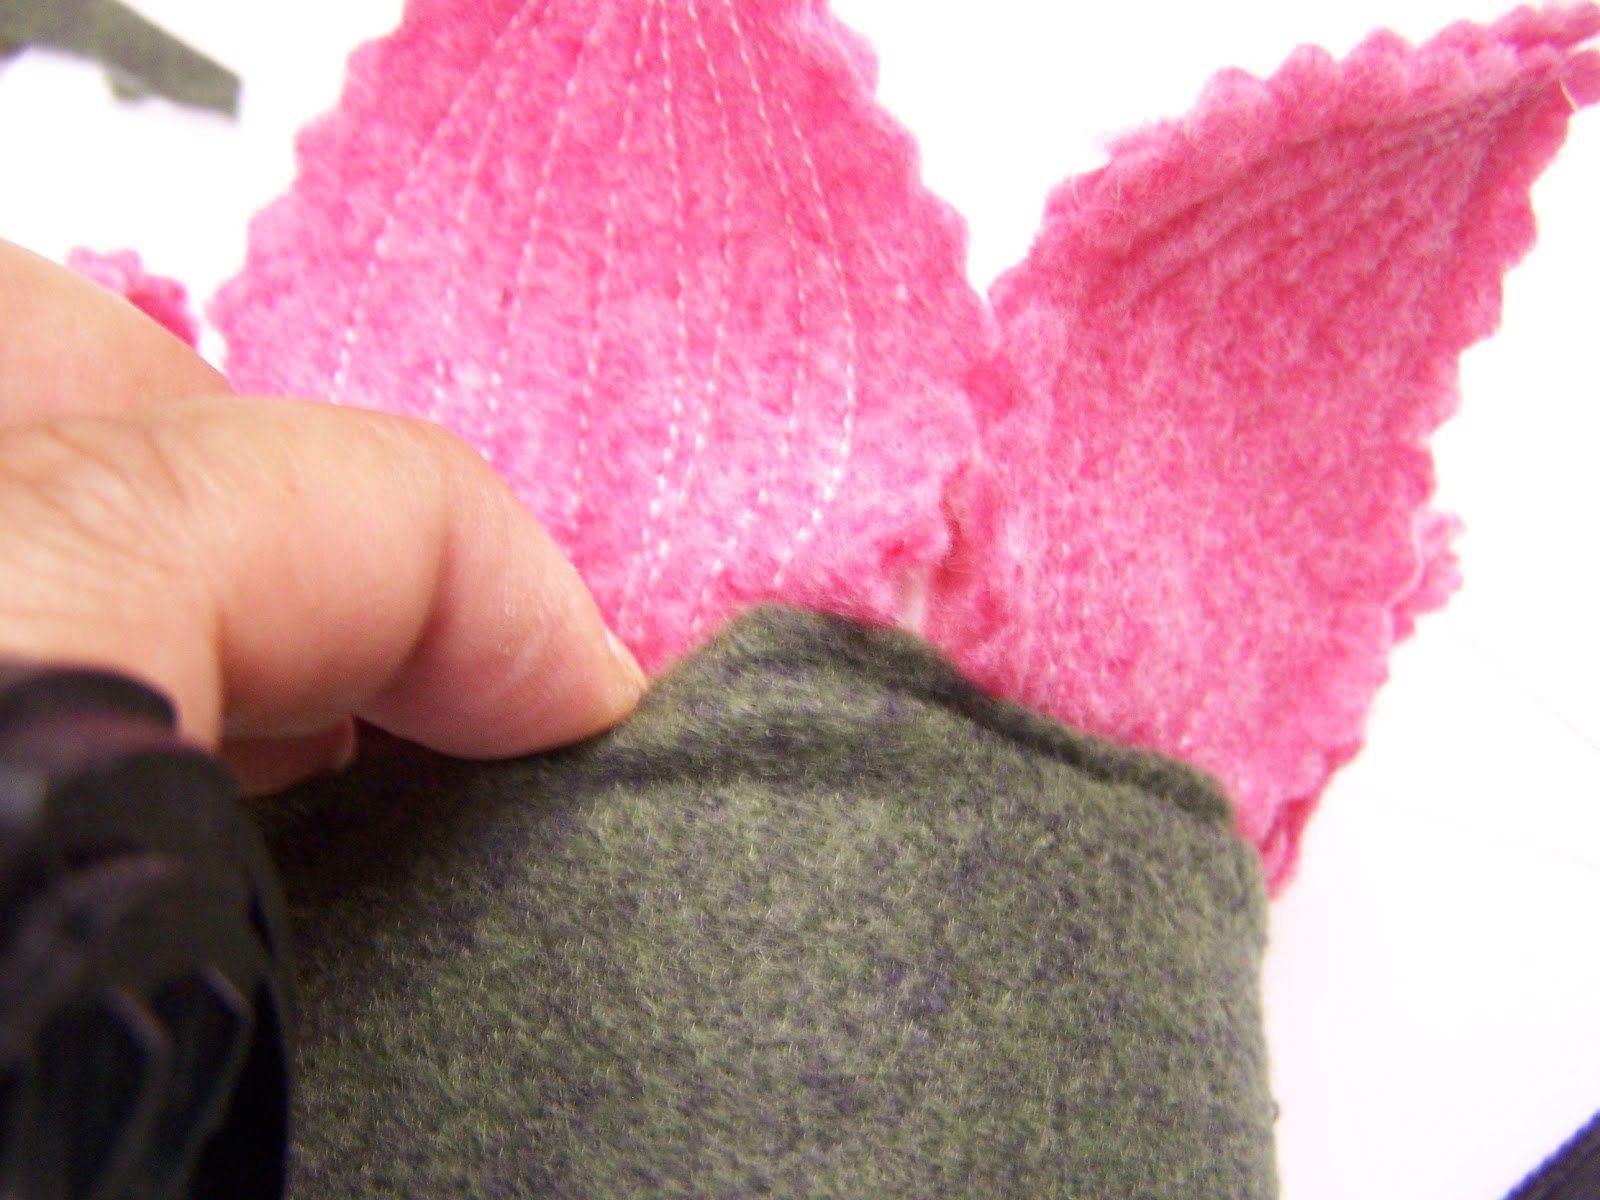
3. Using your sewing machine stitch down the center of the petal and then continue to stitch back and forth moving out until the petal is totally covered. If you want you can do whatever kind of stitching you like as I have shown on the red petal. You can use a contrasting color of thread or a matching color, the choice is yours. This stitching helps the petals stability making them easier to work with.


OPTIONAL: I made a small 4" diameter circle of muslin and filled it with crushed walnut shells to place on the inside of my pincushion. The walnut shells are supposed to help keep your pins and needles sharp. You can do this also if you feel confident enough to make your own.
4. Once all your petals are stitched pin them around your can. If you want to add more you can do so at this point. Using a needle and thread tack each petal in place, this will make it easier to work with.

5. Using a glue gun add a dot of glue to the inside of the can and press the petals down in place. Don't worry about how the petals are positioned at this point, you will adjust that when you are finished. Set the can aside for now.

6. Take your 9" circle and sew a running stitch around the outside edge with your needle and thread pull tight to form a "cup" shape.


OPTIONAL: If you have made a pouch filled with crushed walnut shells place it in the center of the "cup" at this point.
7. Stuff the "cup" shape firmly with polyester fiberfill batting and pull your thread tightly to form a ball shape. Work your shape until it looks somewhat uniform in shape.


8. Take your fabric "ball" and stuff firmly into the middle of the can until if sits firmly on the bottom. If you like you could add hot glue to the inside of the can but your fabric ball should be firm enough and snug enough to not need it.

9. Take the lip edge of the felt used on the side of the can and stuff it into the can pushing the petals down down also. This will help keep the pincushion sitting tightly in the can.
10. Once you have it stuffed securely into the can you can then form your petals into a flower shape.

Make your own if you like or click on the link above and purchase this beauty or one like it. Whatever you choose I hope you enjoyed Day 3 of 100 Days on Pins and Needles.
4 comments:
Delightful!!
I love it!
How fantastic!
Love this tutorial! It is so colorful!
Post a Comment